top of page

All Videos
All Videos

Search video...
OPEX Regina | Jenny's series | Episode 1: Show Up for Yourself
00:34
Play Video

ASSESSMENT | Amber's series | EPISODE 5: Ring Row
01:11
Play Video

ASSESSMENT | Amber's series | EPISODE 4: Side Plank
01:15
Play Video

ASSESSMENT | Amber's series | EPISODE 3: Hinge (Waiters Bow)
01:11
Play Video

ASSESSMENT | Amber's series | EPISODE 2: Split Squat
01:17
Play Video

ASSESSMENT | Amber's series | EPISODE 1: Overhead Squat
01:49
Play Video

Offset Push Up
00:17
Play Video
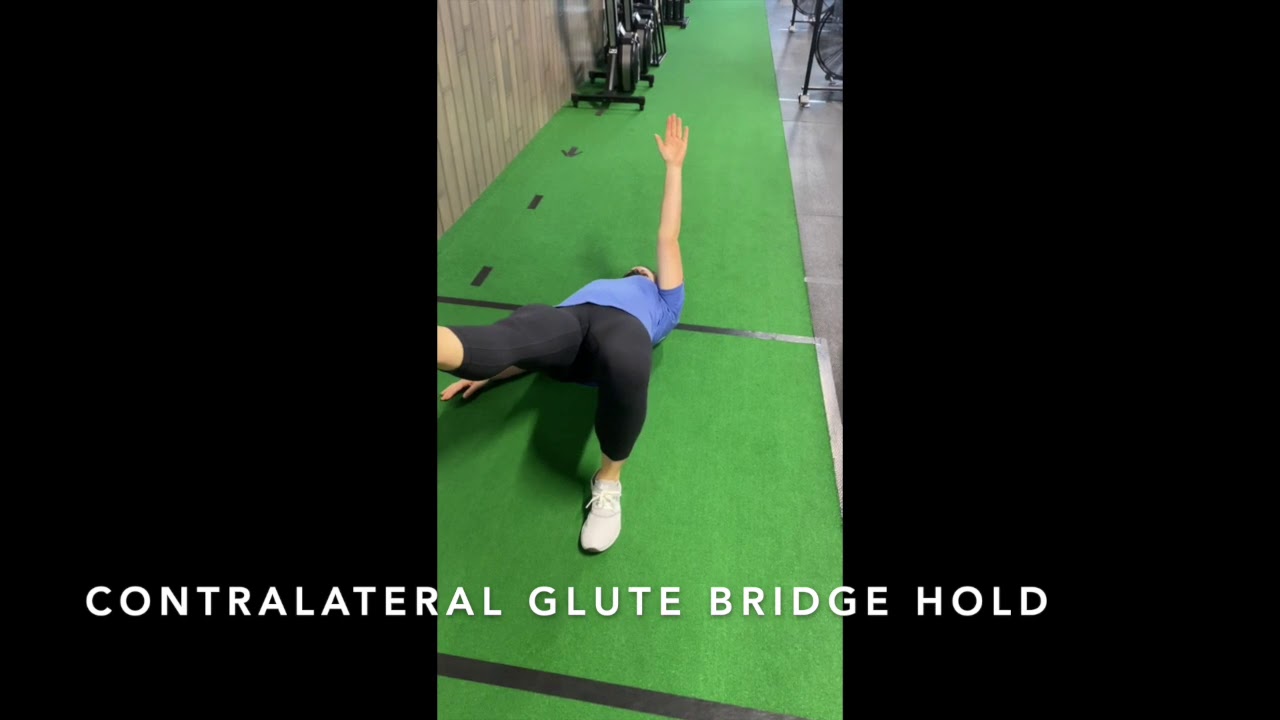
Contralateral Glute Bridge Hold
00:18
Play Video

QL Twist Stretch
00:21
Play Video

Modified Cat Cow
00:17
Play Video

Offset Push Up From The Knee
00:17
Play Video

Kettlebell Clean to Cossack Squat
00:25
Play Video

Prone Swimmer Flow
01:17
Play Video
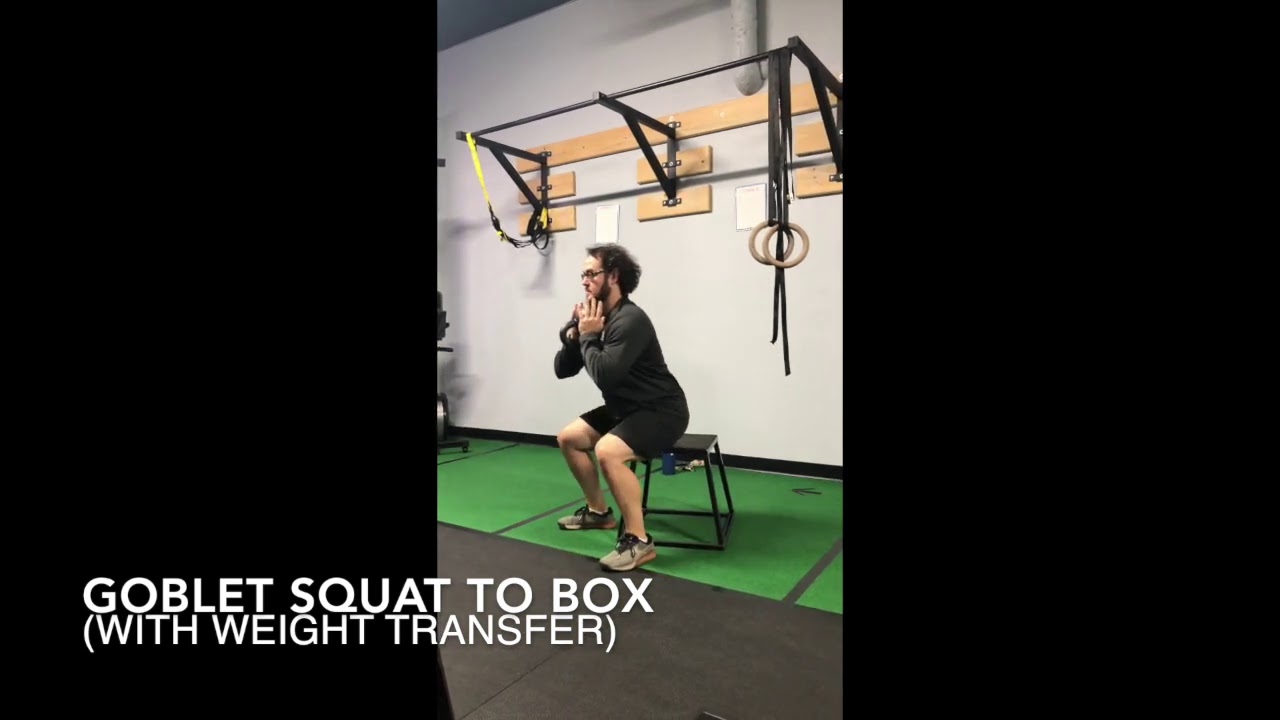
GOBLET SQUAT TO BOX (WITH WEIGHT TRANSFER)
00:18
Play Video

Goalie Stretch (heels away from glutes)
00:09
Play Video

Frog Stretch (heels towards midline)
00:11
Play Video

Forearm Plank
00:18
Play Video
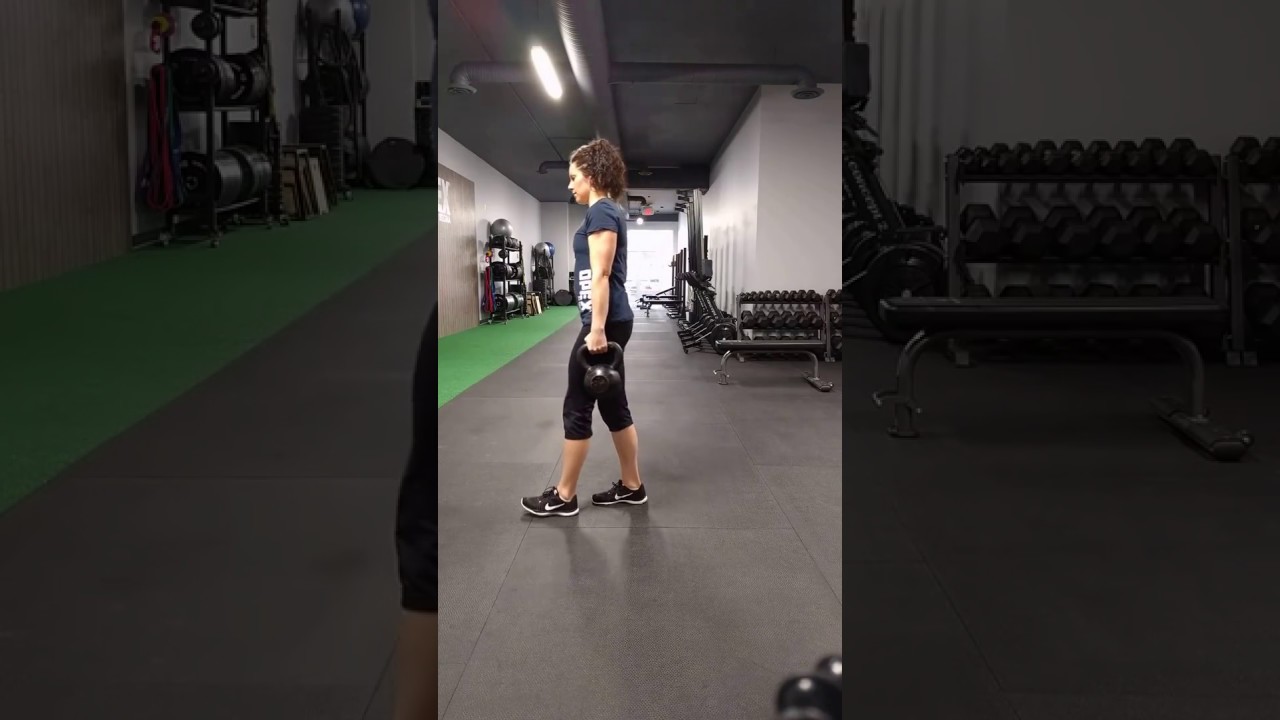
Single Arm Kettlebell March
00:31
Play Video

Banded VMO Activation
00:12
Play Video

Front Foot Elevated Split Lunge
00:15
Play Video

Split Lunge
00:16
Play Video

Rear Foot Elevated Split Lunge - OPEX Regina
00:15
Play Video

Poliquin Step Up
00:21
Play Video

Banded Pull Aparts
00:25
Play Video

Single Leg Reacher Progression One
00:14
Play Video

Single Leg Reacher Progression Two
00:25
Play Video

RNT Single Leg Reacher
00:17
Play Video

Back Rack Russian Step Ups
00:18
Play Video

Single Arm Stationary Bear Crawl Lift
00:11
Play Video

Standing Clam Shell
00:19
Play Video
bottom of page